How to Update the Firmware on the Blackmagic Ursa Mini
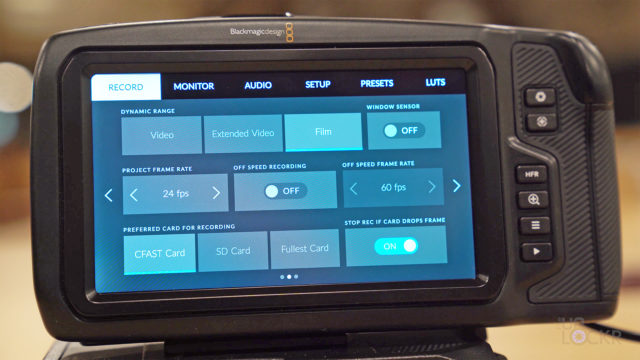
While checking out the Blackmagic Design site recently, I noticed the screen grabs of the Ursa Mini 4K and Ursa Mini 4.6K had changed –drastically. Instead of what I saw on my own Ursa Mini 4.6K, they had shots showing LUTs being previewed on the camera, controls that were over the image instead of a separate menu, and just an entirely new UI, if we’re honest. A lot of my biggest contentions with the camera were being shown solved in their new promo images, what the hell?
Turns out, Blackmagic Design had issued a huge update for the Ursa Mini and I had simply missed the memo.
You can imagine how fast I started searching for how to update my Ursa Mini to the latest firmware so that I, too, could get this amazing goodness. I ended up on the Blackmagic support site and found the downloads but no real instructions on how to use it. I messed around, figured it out, and thought maybe I’d do a quick post here for anyone else scouring the web on how to do it, too (just in case the other, I don’t know, 4 people who own this camera might want to do the same).
So here is a step by step on updating the firmware on the Blackmagic Ursa Mini (and I highly recommend you do it ASAP because it is amazing).
Download the Latest Firmware
1. Head to Blackmagic’s Support Site and you’ll see a list of the latest downloads on the bottom left. Scroll through until you find the latest update for the Ursa Mini (at the time of writing this it is Blackmagic Camera 4.0 Update).
2. Click on Mac or Windows, then click Download Only (just to save time).
3. Once it downloads, extract it to the desktop.
Update the Camera
1. For Windows, install the Camera Setup exe file, for Mac open the dmg file then open the program inside and install it.
2. Once the program is installed, open it and it’ll say no camera found.
3. Find the Mini USB port on the camera, it’s under the rubber flap just over the CF Card slots. Plug the camera in via Mini USB to USB cable to the computer (I couldn’t find that cable in the box so I ended up buying this cheap on on Amazon).
4. Turn on the camera (make sure it has plenty of charge or is plugged in via AC).
5. The program will recognize the camera and say there is an update. Click Update and wait for it to do its thing (and be careful not to unplug the camera, of course).
6. When it’s done, you can then immediately start using the new firmware.
Hope that helps some people out there and if you were as excited as I was for the new ability to preview the LUTs in the camera, here’s how to install those on the camera as well (because again, no instructions I could find on the web).
Let me know if that helped anyone and how much you guys are loving the new features in the comments below!


