Motorola Moto G Stylus Complete Walkthrough: An Phone with a Stylus
Motorola has always been good at making budget phones honestly.
They sent me the new Moto G Stylus which if you couldn’t tell by the name it’s in their often praised (for being great for the price) G series and it has a built-in stylus–which we’ll talk about that more in a sec though in this complete walkthrough.
Now, if you’re not familiar a complete walkthrough on this channel is where I try and go through every single feature I possibly can on a new device so you guys are better prepared should you be in the market to actually go buy one.
With that said, there is a lot to go through so let’s get started with the hardware.
First, the Moto G Stylus has a 6.4” Full HD+ (2300 x 1080 resolution) IPS display with a 19.17:9 aspect ratio. The bezels are pretty smaller considering the price point and we have about an 89% screen to body ratio.

Inside that screen, we have a 16MP f2.0 aperture camera with 1-micron sized pixels that are not binned so you’ll get a 16MP image when done.
For video, that front camera can record up to 1080P at 30fps and here is what that looks like and the microphones sound like.

The phone only comes in one color, this Mystic Indigo which is a sort of purple-ish color with flakes in it which is nice (again though, I always prefer my tech in brighter colors like this than not, but maybe that’s just me).

The phone is made out of a 6000 series aluminum frame with a plastic backing. There is no IP-rating as such but Motorola lists a “water repellent design” in the specs and what that usually means is it’ll survive splashes but don’t let it get submerged in water.

Moving around the device, we have our SIM card tray that also accepts a MicroSD card to expand the 128GBs of internal storage in here which is always nice as MicroSD cards in the same additional storage sizes are generally much less expensive than having a phone with the built-in storage at a higher amount (i.e. $20 would double this storage using a MicroSD vs most likely more than that Motorola would have to charge to give you that same amount inside the phone initially).
At the top we have nothing.


On the right, we have our volume rocker and power button which you can hold down to get your power options but also choose to have a double-tap either open the Google Assistant or the camera.


On the bottom, we have one of our two speakers (the other is the earpiece) tuned by Dolby (no mention of the word Atmos, by the way).

We also have a 3.5mm headphone jack which I know some of you will be happy about.
In between those, we have our USB-C port that is capable of 10W fast charging of the 4000mah battery inside here with the included 10W charger Motorola provides in the box and as is usual on this channel, let’s do a quick, albeit unscientific test to see how that works.

Next to that, we have the aforementioned stylus, that you can pull out using the small groove on the right.


That stylus is actually nicer than I expected frankly and is made out of metal and has a satisfying click when you put it back that helps me feel better about the fact it won’t just fall out of the bottom and be lost forever.
I reached out to Motorola about what a replacement stylus would cost if you did happen to lose one as I’m sure that is a concern for some of you and they told me:
“The stylus has the same one year warranty as the device, so if a consumer needs to replace the stylus within the first year they follow the warranty steps.”
Which sounds like they’ll replace it for you almost for free but you might want to check with them to confirm that.
Motorola is claiming 2 days of battery life on this device but let’s do another not terribly scientific test and just see how it does playing a YouTube video for 30 mins on 50% brightness to just get an idea for the battery life.

Under the hood, we have a Qualcomm Snapdragon 665 paired with 4GBs of RAM and partially thanks to the stock-like version of Android on here, the device seems pretty snappy while navigating the home screen, etc. There is a couple of seconds of a wait when opening apps for the first time, but once they’re in the device’s cache they tend to open relatively quickly after that.
The time you’ll really notice the performance of the chipset though is when playing games. There is some noticeable lower frame rates while playing some more graphically demanding games like this Asphalt 9 racing game.

So while you can play the game on it, you’d probably be best staying away from higher-end games like this or first-person shooters where the lag and stutter will be more annoying than say in a turn-based less intense game.

For security, we have a rear-mounted fingerprint sensor that is pretty snappy and there is no facial recognition of any kind so that’s your sole way of unlocking the phone.
For connectivity, we have 802.11ac wifi (called WiFi 5 now, you can check out my Decodr episode on WiFi 6 and how that works at the link here), plus we have Bluetooth 5.0, there is no NFC so you can’t use tap and pay, and we have LTE in a ton of bands so it should work in most countries.

Moving around to the back, we have a quad-camera system. Which is technically right, but one of those cameras is a time of flight sensor so it’s being used for autofocus and depth information for portrait mode and isn’t a camera you can switch to for example.

Besides that though, we have our ½” sensor size main camera which is 48MP in resolution and f1.7 aperture with 0.8 micron-sized pixels that by default are binned in a 2×2 configuration to get a lower resolution but better low light and dynamic range. Because of this, you get a 12MP final image with 1.6 micron-sized pixels.

Next to this, we have a dedicated macro camera that can be used to take photos of things close-up that is a 2MP f2.2 aperture camera with a 2cm minimal focus distance.
We also an ultra-wide camera that is a 16MP f2.2 aperture 117-degree field of view camera but, unlike most phones with a secondary ultrawide camera, you can’t switch to it to get a wider photo. Instead, it’s a dedicated video camera.

Something that’s kind of interesting about that is the fact that not only is it meant to only be used for video, but they actually mounted the sensor in here horizontally instead of vertically as is the norm. The benefit of that is that you can actually record horizontal video footage while holding the phone vertically making it easier to do one-handed which if nothing else I have to give them credit for trying something new here, no?
Now with the concept of a lot of social media apps encouraging vertical video, you can at least still use the main camera sensor to shoot video vertically instead without having to rotate the phone.
One of the other benefits of that ultrawide “action cam” though is that it is a lot more stable than the main camera when shooting video so that’s nice.
You can shoot video using that at up to 1080P in 60fps and if you use the main camera instead you can shoot in up to 4K at 30fps.

Really quickly, let’s dive into the other camera modes on here.
- Portrait: Uses software to blur the background behind a subject to create a faster aperture look from a mirrorless/DSLR camera.
- Cutout: This mode works like portrait but instead of blurring the background, it actually automatically cuts you out from the background and lets you use their built-in app to replace it with any other image. Think like an even crappier version of your background replacement for your video conferencing apps.
- Spot Color: This is you tap a color in the image when taking a photo and then will only show that color in the final image. You can also adjust this with the slider at the bottom.
- Cinemagraph: This allows you to take a short video of something and it’ll take a frame from that to make as the still image. You can then highlight any part of the image to have that highlighted part move and then you can export this out as a gif or video to share online (bonus: the stylus can make this a lot more precise).
- Slo-Mo: Records in either 1080p at 120fps or 720p at 240fps and plays the video back in slow-motion.
- Pano: Standard panoramic mode to let you start taking an image and pan the camera to have it stitch multiple images together to capture a wider, panoramic shot.
- Time-Lapse: You can record a video and it’ll automatically play it back sped up.
- Live Filter: Think Instagram photo filters but baked into the image when you take it. It seems dumb to me as you can’t undo them and in my opinion you’d be better off taking the image and adding the filter after instead.
- AR Stickers: This basically opens Google Playground which is their AR app for putting animated items into the real world.
- Manual: There is also a manual/pro mode where you can manually control ISO, shutter speed, etc. and instead of it being as separate camera mode you choose, it’s a button at the top of the normal camera mode.
- Night Vision: Uses AI and multiple shots of various exposure levels (including long exposure shots) to create a much better lowlight image (check out my Decodr episode on Night Mode and how it actually works here).

Moving on to software, we have Android 10 on here and as with most Motorola phones the experience is pretty close to that of what we now consider stock Android as in there isn’t any UI layer that they have added on top as most other manufacturers do. Because of that, you’ll notice the home screen layout and experience will be the same as say the Pixel experience or most Nokia phones, as well (which all use the same concept).
Personally, this is my preferred way of using Android most of the time and it tends to keep these phones running a bit faster even with less powerful chipsets than if they had that extra software running on top of Android.
Now, I won’t dive too deep into the UI here since you’re probably somewhat familiar with it at this point but let’s touch on some of the more stand out software features that Motorola has added to the device.

One thing I’ve always loved about Motorola phones is that they don’t actually add much. The only thing they usually add is essentially a collection of gestures to help you control the device called Moto Actions.
We have things like twisting the phone twice to open the camera, making two chopping motions to turn on the flashlight, flip the phone on its screen to enable do not disturb, etc. and these can all be turned on or off in the Moto app on the phone.

Now, beyond this on this phone, in particular, they’ve also added some features because of the stylus that comes up as a small floating bubble on the screen when you remove the stylus.
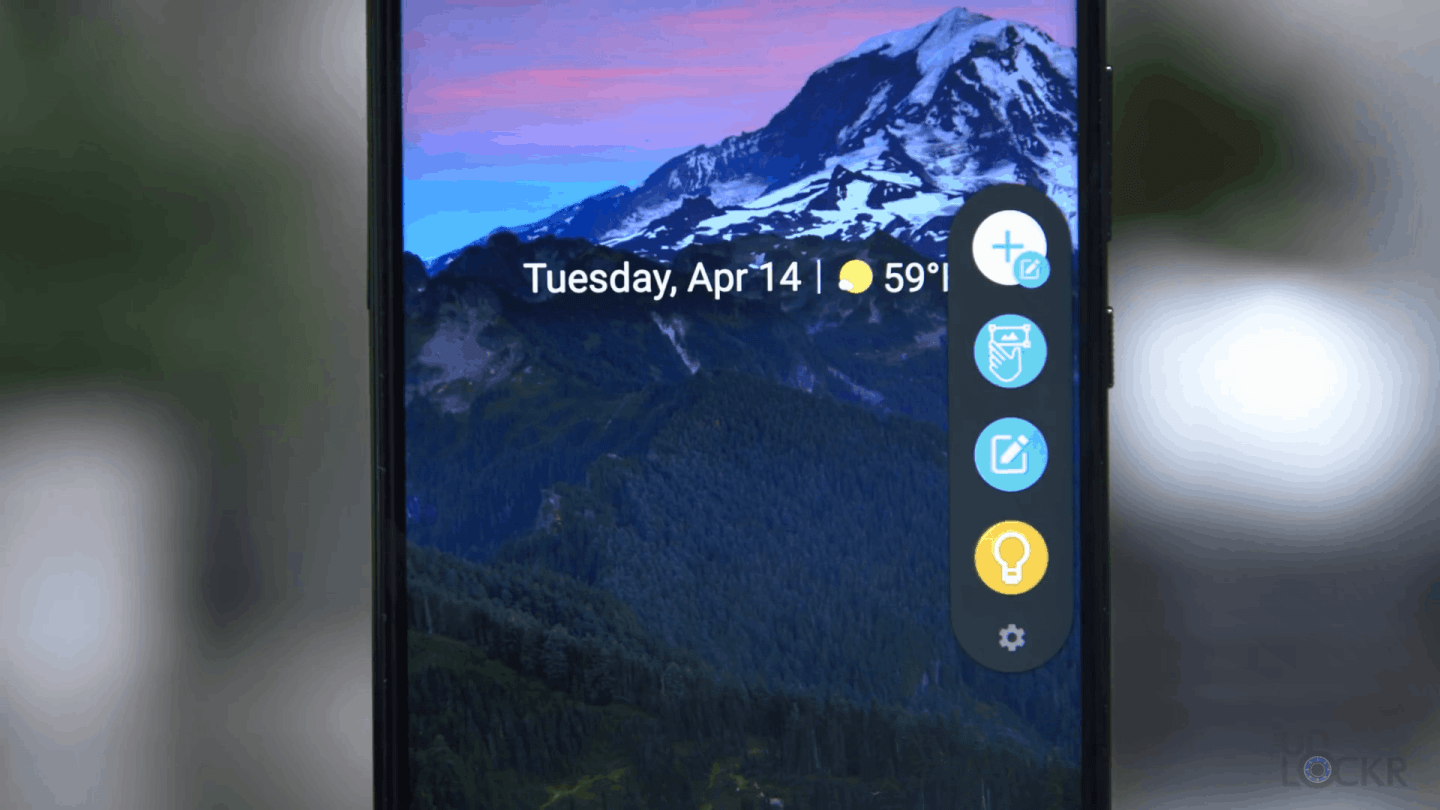
You can then tap on it to get to the following:
- Screenshot: This lets you take a screenshot of the current screen and you can then immediately annotate on it with the pen and share it.
- Moto Note: Motorola’s note-taking application that allows you to jot down notes on the phone, but the more useful feature here is that you can actually take the stylus out when the screen is off to quickly jot down something on the lock screen and then it’ll save it automatically in Moto Notes.
- Google Keep: And we have a shortcut to Google Keep which is Google’s default note-taking application that accepts a stylus input.
The Moto G Stylus is available starting now for $299 and I’ll leave a link below to the cheapest place I can find it as usual.
Personally, the most interesting thing about this device is that it is one of the few devices under even say $600 that has a built-in stylus. The only other one I can think of from a major brand is the LG Stylo 5 that launched last June but honestly, this is much better specs across the board. The next phone I can think of at a price point above that would be the Note 10 Lite which would have much better specs, of course, but starts at $650 or so over twice the price.
I have a feeling that there are plenty of people out there in the market for a phone for around $300 that have always wanted a built-in stylus but haven’t had many options to do so.

The biggest caveat I would say is that if you don’t need the stylus though, there is probably better phones out there like recently discounted Pixel 3a that’s now also $299 and would give you a much better camera, for example. But as with all tech, there are trade-offs and you would have to decide which feature is more important to you.
There you go guys, let me know in the comments below what you think of this phone and make sure to subscribe for more videos. As always, thanks for watching!

